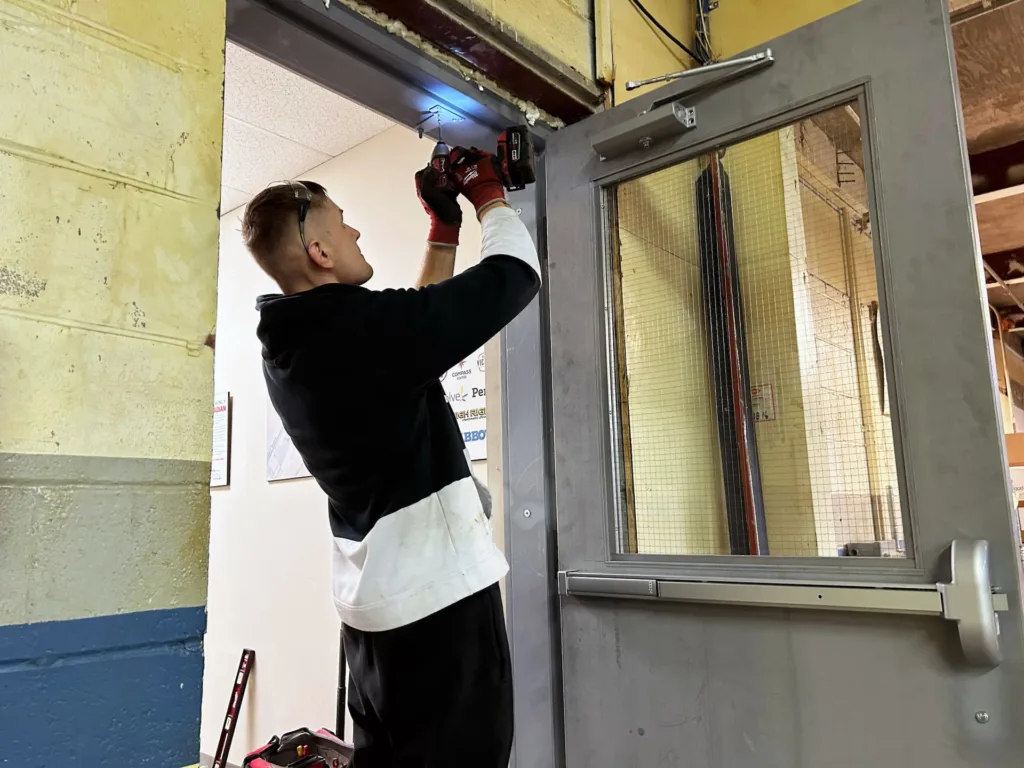
1.Gather the Necessary Tools and Materials
Before you begin installing a door, make sure you have the following tools and materials on hand:
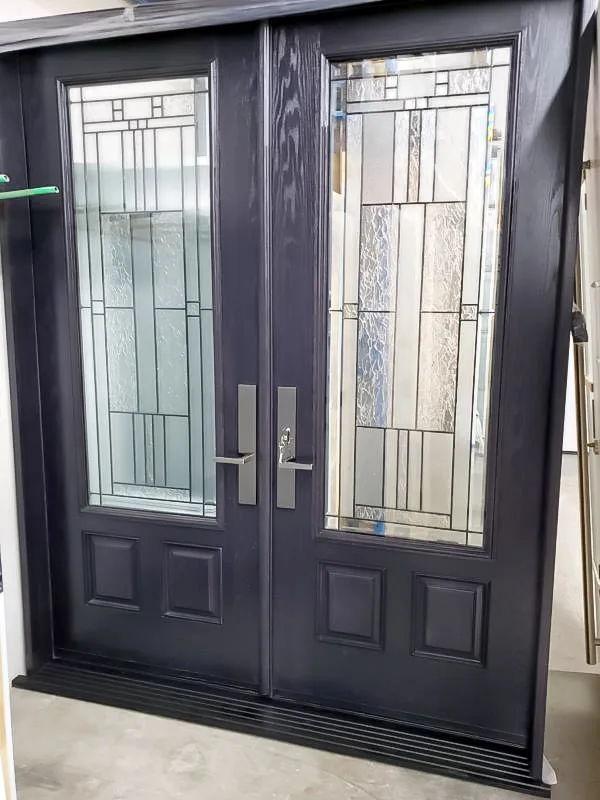
- New door and frame: Choose a door that fits the dimensions of the doorway and matches your desired style.
- Measuring tape: Accurately measure the dimensions of the doorway and the new door.
- Screwdriver: Use a screwdriver that corresponds to the type of screws used for your door.
- Level: Ensure that the door is properly aligned and level during installation.
- Drill: Use a drill to create pilot holes and install screws.
- Hammer: Use a hammer to tap in any nails or secure components.
- Shims: These small wedges help ensure the door is plumb and level.
- Saw: If needed, use a saw to trim the door to fit the dimensions of the doorway.
2.Remove the Old Door (if applicable)
If you’re replacing an existing door, start by removing the old door and frame. Follow these steps:
- Remove the hinge pins: Using a screwdriver or hammer and nail, tap out the hinge pins to detach the old door from the frame.
- Take out the screws: Unscrew the hinges and remove any screws securing the frame to the doorway.
- Gently pry off the frame: Carefully pry off the old door frame using a pry bar or flathead screwdriver. Take caution to avoid damaging the surrounding walls.
3.Prepare the Doorway
Once the old door and frame are removed, prepare the doorway for the installation of the new door:
- Clean the doorway: Remove any debris, dirt, or old caulk from the doorway to ensure a clean surface for installation.
- Measure the doorway: Use a measuring tape to determine the dimensions of the doorway, including the height, width, and depth.
4.Install the New Door
Now it’s time to install the new door:
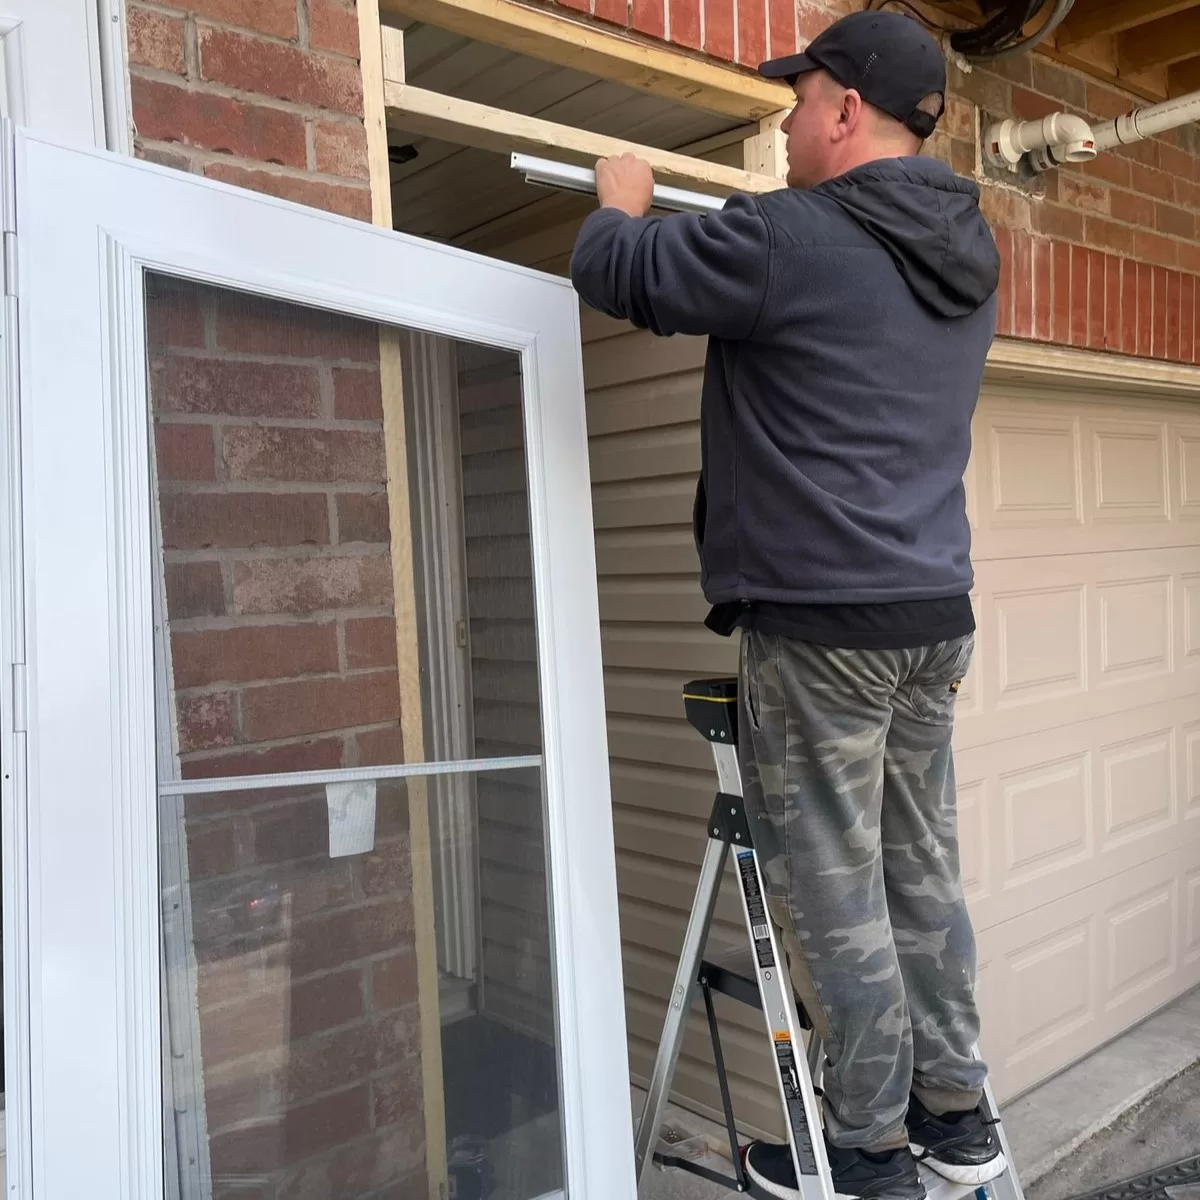
- Place the door in the opening: Carefully lift the new door and place it in the doorway, ensuring it fits snugly.
- Insert shims: Insert shims between the door frame and the doorway to create a level and plumb installation. Adjust the shims as needed until the door is properly aligned.
- Secure the door frame: Use screws to secure the door frame to the doorway, making sure to drive them into the shims for stability.
- Check for proper alignment: Use a level to ensure the door is plumb and level. Adjust the shims and frame as necessary.
- Install the hinges: Attach the hinges to the door frame using screws, ensuring they are properly aligned with the corresponding hinge cutouts on the door.
- Attach the doorknob and hardware: Install the doorknob, lockset, and any additional hardware according to the manufacturer’s instructions.
5.Test and Make Adjustments
After installing the door, perform the following checks:
- Test the door swing: Open and close the door to ensure it swings smoothly and without any obstructions.
- Check for proper alignment: Use a level to verify that the door is still plumb and level after installation. Make any necessary adjustments to the shims or hinges.
6.Finish and Seal
To complete the door installation, follow these final steps:
- Trim excess shims: Using a utility knife or saw, carefully trim any excess shims that extend beyond the door frame.
- Fill gaps and holes: Fill any gaps or holes around the door frame with caulk or wood filler to create a seamless appearance and enhance insulation.
- Paint or stain the door: If desired, apply a coat of paint or stain to the door and frame to match your interior or exterior decor.
- Install weatherstripping: Attach weatherstripping along the door frame to improve energy efficiency and prevent drafts.
7.Regular Maintenance
To ensure the longevity and optimal performance of your newly installed door, consider the following maintenance tips:
- Clean and lubricate hinges: Periodically clean the hinges and apply lubricant to ensure smooth operation.
- Inspect and repair any damage: Regularly inspect the door for signs of wear, such as cracks or warping, and promptly address any issues to maintain its functionality and security.
- Adjust hardware: Over time, the door may require adjustments to the hardware, such as tightening screws or aligning the strike plate, to ensure proper functioning.
Conclusion
Installing a door can be a rewarding project that enhances both the functionality and aesthetic appeal of your home. By following this step-by-step guide, you can confidently tackle the installation process and enjoy the benefits of a well-installed door. Remember to gather the necessary tools, measure accurately, and take your time to ensure proper alignment and stability. If you encounter any challenges or are unsure about any step, it’s always recommended to consult a professional for assistance.
At Enlive Doors, we strive to provide you with valuable information and resources to help you with your home improvement projects. Remember, when installing a new door, it’s always best to rely on the expertise of professionals like Enlive Doors to ensure a safe and efficient installation, contact us today!
