To fix a draft between your door and frame, you need to identify the source of the air leak, then apply the appropriate solution. Common fixes include replacing worn weatherstripping, adjusting the door alignment, installing a new door sweep, or applying foam tape to gaps. Most repairs cost under fifty dollars and require only basic tools.
Why Doors Develop Drafts
Understanding why air leaks develop helps you choose the right repair method. Several factors contribute to drafty doors, and Canadian homes face unique challenges due to extreme temperature swings.
Common Causes of Air Leaking Around Door Frame
- Weatherstripping that has worn out, compressed, or cracked over time
- Door frames that have shifted due to foundation settling
- Improper door installation leaving gaps from the start
- Seasonal wood expansion and contraction affecting fit
- Damaged or missing door sweeps at the threshold
- Worn hinges causing the door to sag
In Ontario, homes experience significant temperature variations between summer and winter. Consequently, wooden doors and frames expand and contract more than in milder climates. This movement accelerates wear on sealing components.
Expert Tip: Check your doors twice yearly, once before heating season and once before cooling season. Early detection prevents small gaps from becoming major energy drains.
How to Find the Draft Source
Before you can fix a draft, you must locate it precisely. Random repairs waste time and money. Instead, use these proven detection methods.
The Candle Test
Light a candle and slowly move it around the entire door perimeter. Watch the flame carefully as you go. When the flame flickers or bends, you have found an air leak. Mark these spots with painters tape for reference.
The Paper Test
Close your door on a piece of paper at various points along the frame. Try to pull the paper out while the door remains closed. If the paper slides out easily, the seal at that location is insufficient. A properly sealed door should grip the paper firmly.
Visual Inspection
On a sunny day, turn off interior lights and look for daylight around the door edges. Even small light gaps indicate significant air leakage. Additionally, inspect weatherstripping for visible cracks, compression marks, or missing sections.
Expert Tip: Perform the candle test on a windy day for the most accurate results. Wind pressure amplifies air movement through small gaps that might otherwise go unnoticed.
Tools and Materials You Will Need
Gather your supplies before starting the repair. Having everything on hand makes the job faster and prevents frustrating trips to the hardware store mid-project.
Basic Tools
- Tape measure
- Utility knife
- Screwdriver set
- Pry bar or putty knife
- Scissors
- Cleaning rags
- Rubbing alcohol for surface preparation
Materials for Sealing Door Gaps
- Replacement weatherstripping appropriate for your door type
- Door sweep or bottom seal
- Foam tape in various thicknesses
- Silicone caulk for permanent gap filling
- Wood filler for damaged frames
Most Canadian hardware stores stock these items year-round. However, selection improves in fall as homeowners prepare for winter. Plan ahead to find the exact materials you need.
How to Seal Door Gaps Step by Step
Now that you have identified the problem areas and gathered supplies, follow these detailed instructions. Each method addresses a specific type of draft issue.
Door Weatherstripping Replacement
Worn weatherstripping causes most door drafts. Fortunately, replacement is simple and affordable. Follow these steps for a professional result.
Step 1: Remove Old Weatherstripping
Carefully peel or pry away existing weatherstripping from the door frame. Work slowly to avoid damaging the wood underneath. Some types are nailed in place while others use adhesive backing.
Step 2: Clean the Surface
Remove all old adhesive residue using rubbing alcohol or a mild solvent. Wipe the entire contact area until clean. New weatherstripping bonds poorly to dirty surfaces, so take your time with this step.
Step 3: Measure and Cut
Measure each section of the door frame separately. Cut your new weatherstripping slightly longer than needed. Precise cuts at the corners ensure a tight seal without gaps.
Step 4: Install New Weatherstripping
Press the weatherstripping firmly into place, starting at the top of the frame. Work your way down each side. Ensure consistent contact along the entire length without stretching the material.
Step 5: Test the Seal
Close the door and repeat the paper test at multiple points. The door should close smoothly while maintaining firm contact with the new weatherstripping. Adjust if necessary.
Expert Tip: Choose weatherstripping rated for your climate zone. Products designed for Canadian winters feature materials that stay flexible in extreme cold. Cheap alternatives often harden and crack within one season.
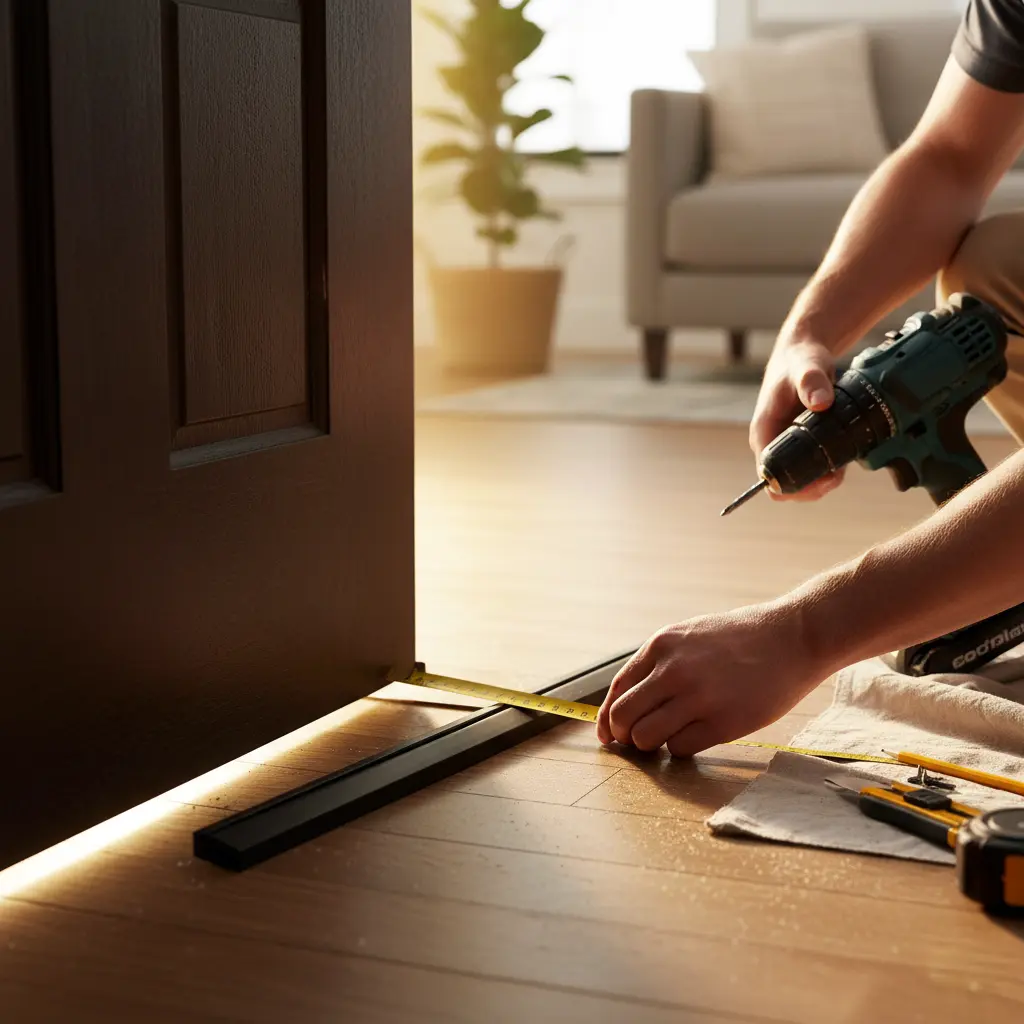
Fixing the Door Bottom
The gap beneath your door often allows the most air infiltration. A worn or missing door sweep lets cold air pour in at floor level. Replacing this component makes an immediate difference.
First, remove the existing door sweep by unscrewing it from the door bottom. Next, measure the door width and cut your new sweep to fit precisely. Then, position the sweep so it contacts the threshold without dragging. Finally, secure with screws and test the door operation.
Several door sweep styles exist for different situations:
- Brush sweeps work well on uneven thresholds
- Vinyl sweeps provide a tighter seal on smooth surfaces
- Automatic door bottoms retract when the door opens, preventing drag
- Threshold seals mount on the floor rather than the door
Adjusting Door Alignment
Sometimes the door itself has shifted, creating uneven gaps. This problem requires adjustment rather than additional sealing materials. Proper alignment ensures weatherstripping works effectively.
Check if the gap between the door and frame is consistent on all sides. Uneven gaps indicate alignment issues. Look for hinge screws that have loosened over time.
To fix a sagging door:
- Tighten all hinge screws first
- Replace stripped screws with longer ones that reach the wall framing
- Add cardboard shims behind hinges to adjust the door position
- Consider replacing worn hinges if adjustment does not help
Expert Tip: A three-inch screw through the top hinge into the wall stud often fixes a sagging door instantly. This simple trick pulls the entire frame back into alignment.
Sealing Frame Gaps with Caulk
Air sometimes leaks through gaps between the door frame and the wall itself. These structural gaps require caulking rather than weatherstripping. Silicone or latex caulk works well for this application.
Apply caulk to the exterior joint where the frame meets the siding or brick. Smooth the bead with a wet finger for a clean finish. Allow full curing before testing. Interior gaps can be filled similarly, though paintable caulk is preferable inside.
Discover our professional door installation services
Types of Weatherstripping Compared
Choosing the right weatherstripping material affects both performance and longevity. Each type has advantages and limitations worth considering.
Adhesive Foam Tape
This affordable option works for small gaps and temporary fixes. Installation requires no tools beyond scissors. However, foam compresses permanently over time and typically needs replacement every one to two years.
V-Strip or Tension Seal
V-strip weatherstripping folds to create a spring seal against the door. It handles irregular gaps well and lasts longer than foam. Installation is slightly more complex but still manageable for DIY projects.
Tubular Rubber or Vinyl
These hollow gaskets compress to fill gaps while maintaining their shape. They provide excellent sealing and withstand Canadian winters better than foam alternatives. Many professional installers prefer this type for exterior doors.
Magnetic Weatherstripping
Steel doors can use magnetic weatherstripping for an extremely tight seal. The magnetic attraction pulls the seal closed automatically. This premium option costs more but delivers superior performance.
Common Mistakes to Avoid
Many DIY door draft repairs fail due to preventable errors. Learning from these common mistakes saves time and frustration.
- Using the wrong weatherstripping thickness creates gaps or prevents proper door closure
- Skipping surface preparation causes new weatherstripping to peel off quickly
- Installing weatherstripping in cold weather prevents adhesives from bonding properly
- Ignoring underlying alignment issues means seals wear unevenly and fail prematurely
- Buying the cheapest materials results in replacement within months rather than years
- Stretching weatherstripping during installation causes it to shrink and create gaps
Expert Tip: Install weatherstripping when temperatures exceed ten degrees Celsius. Adhesives need warmth to cure properly. If you must work in cold weather, use a hair dryer to warm the surface and materials.
When to Call a Professional
Most door draft repairs are DIY-friendly. Nevertheless, some situations warrant professional help. Recognize when a problem exceeds simple fixes.
Consider professional assistance if:
- The door frame is rotted or structurally damaged
- Gaps exceed one centimeter despite adjustment attempts
- The door itself is warped or damaged
- Foundation settling has significantly shifted the frame
- You need the work done before harsh winter weather arrives
Professional door installers have specialized tools and experience to handle complex repairs. Moreover, they can assess whether repair or replacement makes more economic sense for your situation.
Energy Savings and Ontario Building Considerations
Properly sealed doors contribute to meeting Ontario Building Code requirements for energy efficiency. The code mandates minimum insulation and air barrier standards for residential construction. While these primarily apply to new builds and major renovations, improving your existing doors supports these energy goals.
According to Natural Resources Canada, air leakage accounts for a significant portion of home heating costs. Sealing gaps around doors and windows represents one of the most cost-effective energy upgrades available. The investment typically pays for itself within one heating season through reduced energy bills.
Many Ontario utility companies offer rebates for home energy improvements. Check with your local provider about available programs before starting your project.
Maintaining Your Door Seals
Once you fix the draft between your door and frame, regular maintenance extends the life of your repairs. A few simple habits prevent future problems.
- Inspect weatherstripping every spring and fall
- Clean door sweeps monthly to remove debris that causes wear
- Lubricate hinges annually to prevent sagging
- Address small gaps immediately before they worsen
- Keep door tracks and thresholds clear of dirt and ice
Quality weatherstripping should last three to five years with proper care. Cheaper alternatives may need replacement annually. Investing in better materials reduces long-term maintenance.
Final Thoughts
Fixing a draft between your door and frame is a satisfying weekend project with immediate benefits. You will notice improved comfort and lower energy bills right away. The skills you develop apply to all exterior doors in your home.
Start by identifying your specific draft sources using the tests described above. Then choose the appropriate repair method for each problem area. Take your time with installation to ensure lasting results.
If your door continues to leak air despite proper weatherstripping, or if the door itself shows signs of damage, it may be time to consider replacement. A new energy-efficient door eliminates drafts permanently while enhancing your home’s appearance and security.
Enlive Doors specializes in helping Canadian homeowners find the right doors for their climate and budget. Our team can assess your current doors and recommend the most effective solution, whether that means repair or replacement. Contact us to discuss your options and keep your home comfortable year-round.

